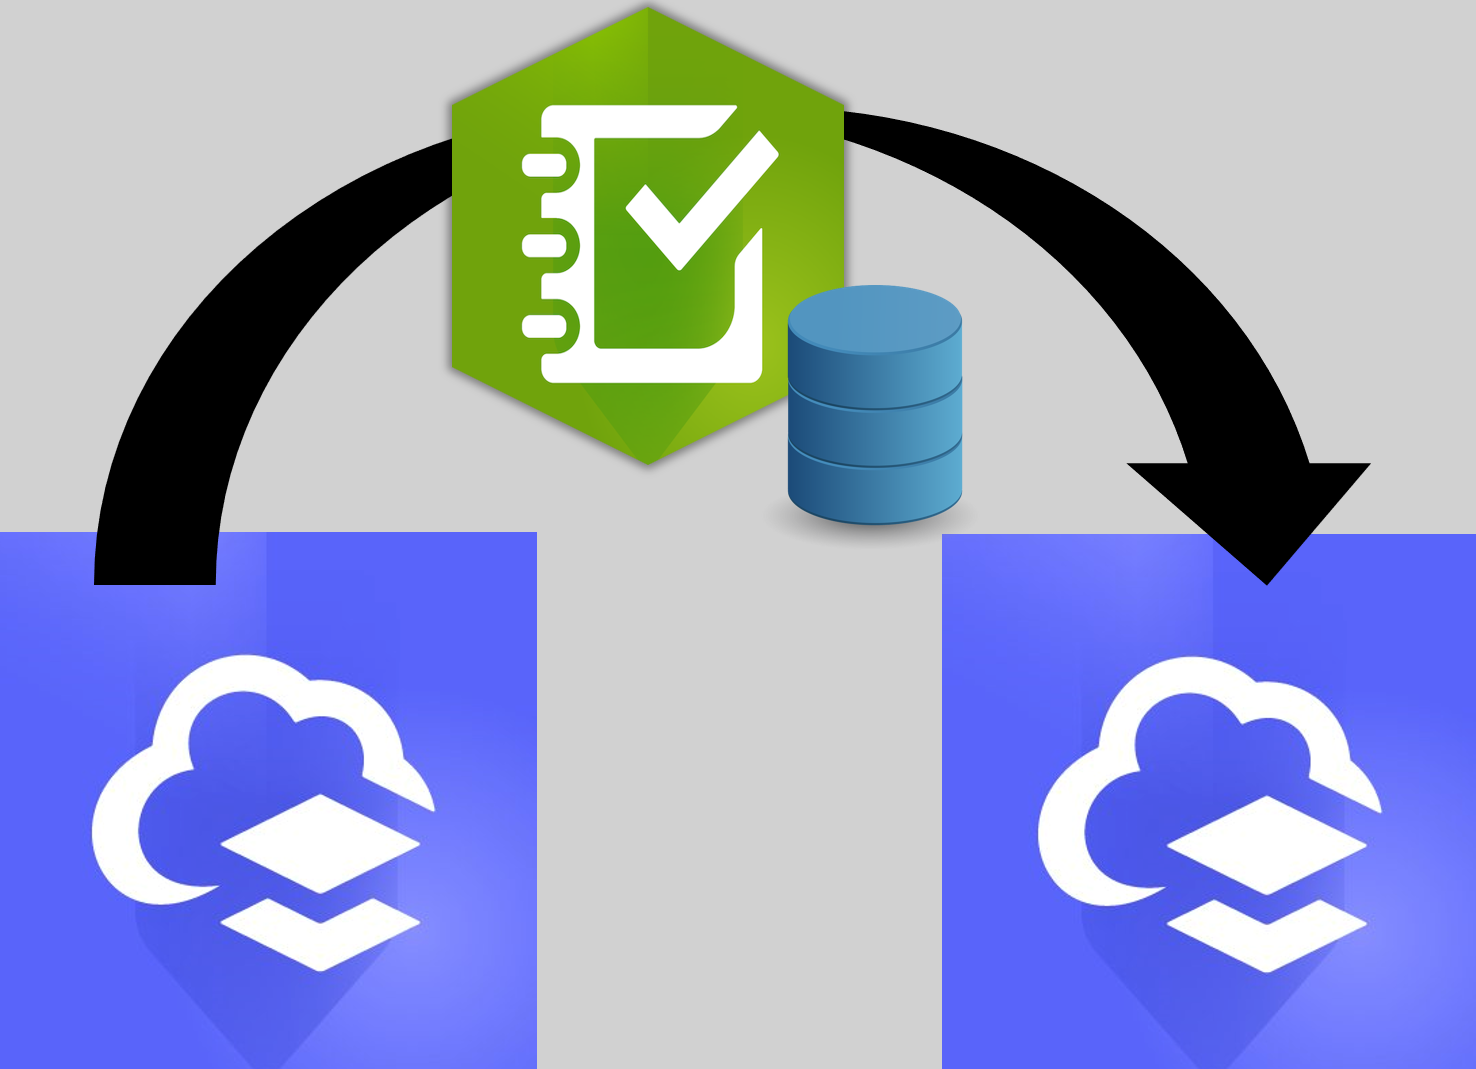
Survey123 has been around for a while and is a powerful tool in the geospatial belt of tools. I created a Survey of Coffee Shops a wile ago and wanted to recreate that with some old data. Whether you're moving projects between ArcGIS Online accounts or just refining your Survey123 presentation, this post walks you through how to:
Recreate a Survey123 form in a new ArcGIS Online account using an existing Excel XLSForm
Re-upload existing survey data into the new hosted feature layer
Bonus of Using HTML formatting to make numeric scores visually stand out—with color and boldness
Step 1: Export from Your Old/Other ArcGIS Online Account
If your Survey123 form was created using Survey123 Connect, you probably already have:
A feature class (downloaded or exported from AGOL)
The original Excel spreadsheet (your XLSForm) used to build the survey
if not, You can ‘Open in Survey123 Connect’ from the AGO interface and then save the XLSX locally. For the Layer from AGO, export the feature layer data as a File Geodatabase, shapefile, or simply use ArcGIS Pro to copy the features. (More on this process below)
Step 2: Recreate the Survey in Survey123 Connect
Open Survey123 Connect and log in with your target ArcGIS Online account.
Click "New Survey"
Select the “File” tab, then choose your original Excel XLSForm
Name the survey appropriately because you this name attached it self to a lot of items, and click Create.
This step builds a new feature layer and form structure based on your original XLSForm.
Step 3: Publish the Survey
Once your survey form looks correct:
Click “Publish” to push the survey and create a new hosted feature layer in your new account\
Step 4: Migrate the Old Data
Use ArcGIS Pro to migrate the feature class data into the new Published hosted feature layer:
Open a new project and sign in with your target AGO account
Add your original feature class (from download/export)
Add your new empty hosted feature layer (created when you published the survey)
Use the “Append” tool to transfer records with attachments (or Copy/Paste if no attachments)
Make sure field names, types, and domains match—adjust schema if needed. I always map the field on an append.
Bonus! Step 5: Add Formatted Score Output with HTML
You can use HTML tags inside a note question in Survey123 to style the output of a calculated score.
For example, to make the TotalScore field change color based on value, and appear bold, use this formula in the calculation column of a note question:
if($ >= 20,
   concat('<font color="green" size="5"><b>', $, '</b></font>'),
   if($ >= 15 and $ < 20,
      concat('<font color="blue" size="5"><b>', $, '</b></font>'),
      if($ < 15,
         concat('<font color="red" size="5"><b>', $, '</b></font>'),
         ''
      )
   )
)
Point of note: For some reason this doesn’t display in the Survey123Connect accurately in the preview, but it works after publishing
Survey123 Connect Preview
Opened in Browser looks fine and formatting works!
This workflow lets you fully migrate a Survey123 form and its data between accounts and enhance the user experience by formatting key values. Using just a few lines of HTML and Survey123 logic, you can make your forms more engaging, readable, and responsive. If you have any coffee shops you want to review drop them here.


